Create A Model
Create Model allows users to build a private AI model by customizing its basic settings, metadata, and access controls. On the Model Hub service screen, click the Create button to go to the creation page. 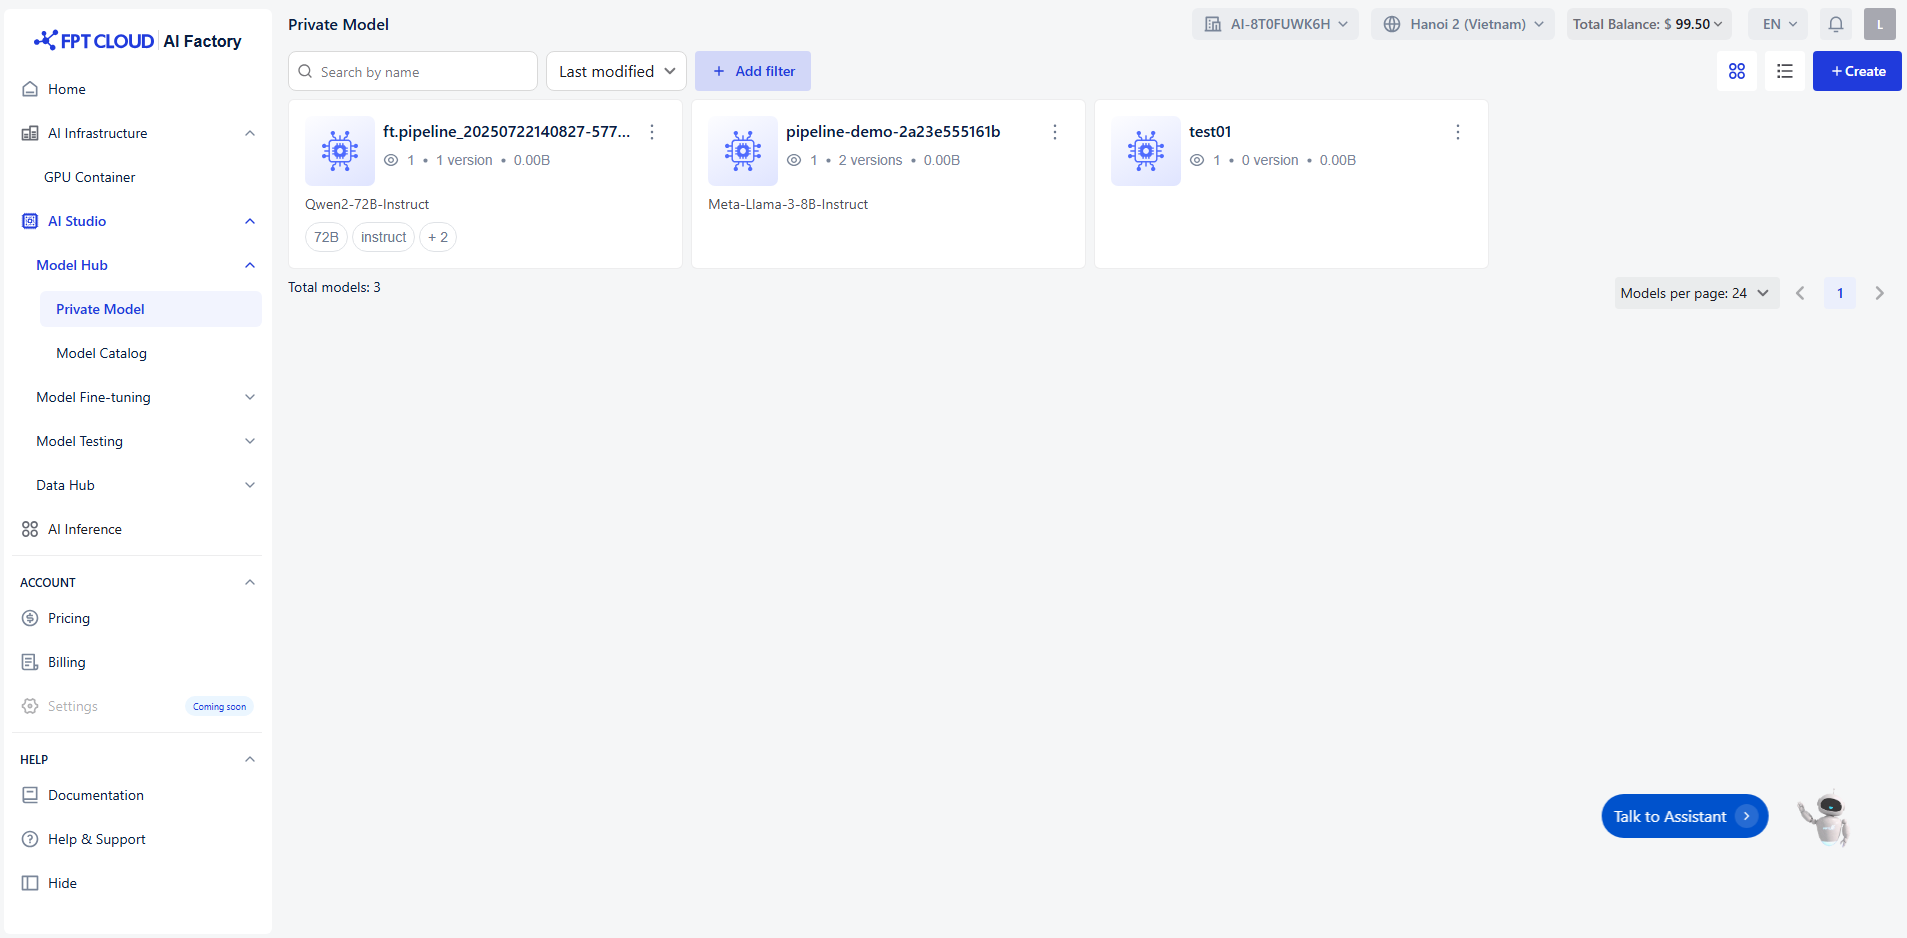
Step 1: Fill in Basic Information
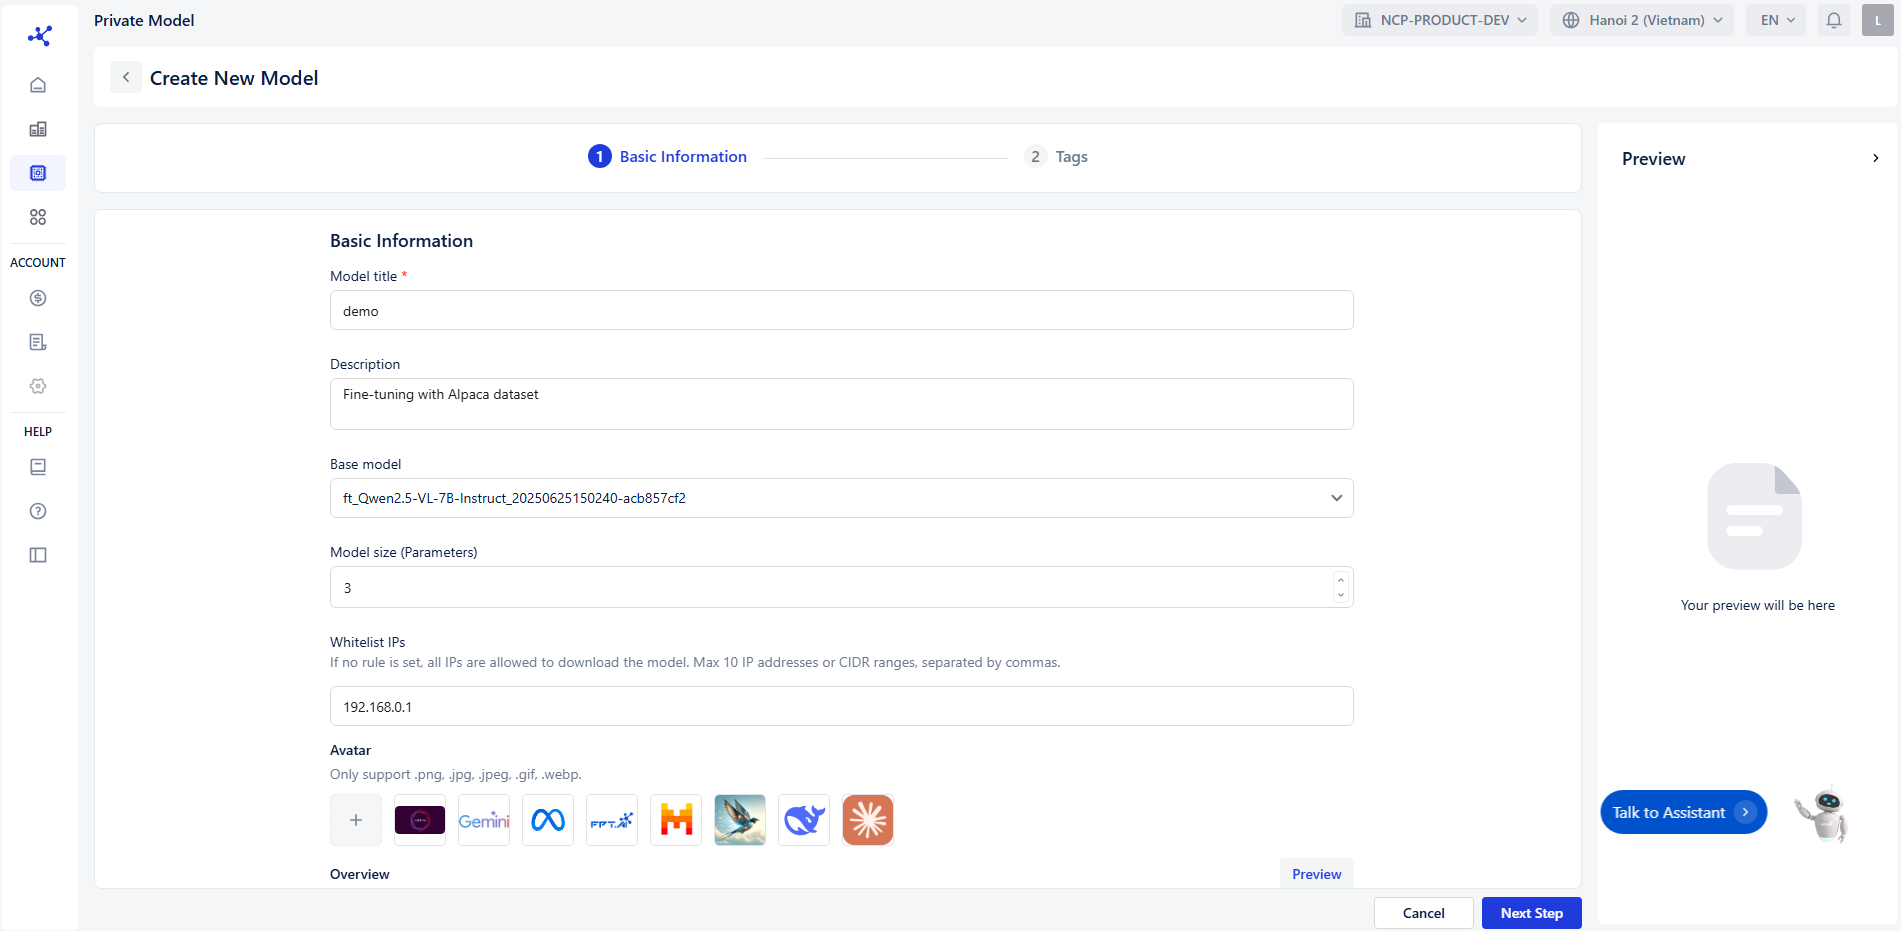 In the Basic Information section, complete the following fields:
- Model Title : Enter the name of your model (required).
- Description : Provide a short description of the model’s purpose.
- Base Model : Select the foundational model (e.g., GPT-4, LLaMA).
- Model Size (Parameters) : Specify the model’s parameter size (e.g., 7B, 13B).
- Whitelist IPs : Add IP addresses that are allowed to access the model.
- If no rule is set, all IPs are allowed to download the model. Max 10 IP addresses or CIDR ranges, separated by commas
- IPv4 format:
- x.x.x.x, where each x ∈ [0, 255]
- Optional CIDR suffix: /y, where y ∈ [0, 32] ✅ Valid: 192.168.0.0 ❌ Invalid: 192.168.300.1
- Avatar : Upload an image to represent your model (optional).
- Overview : Write a detailed overview using rich text formatting (bold, italic, lists, etc.).
Step 2: Add Tags
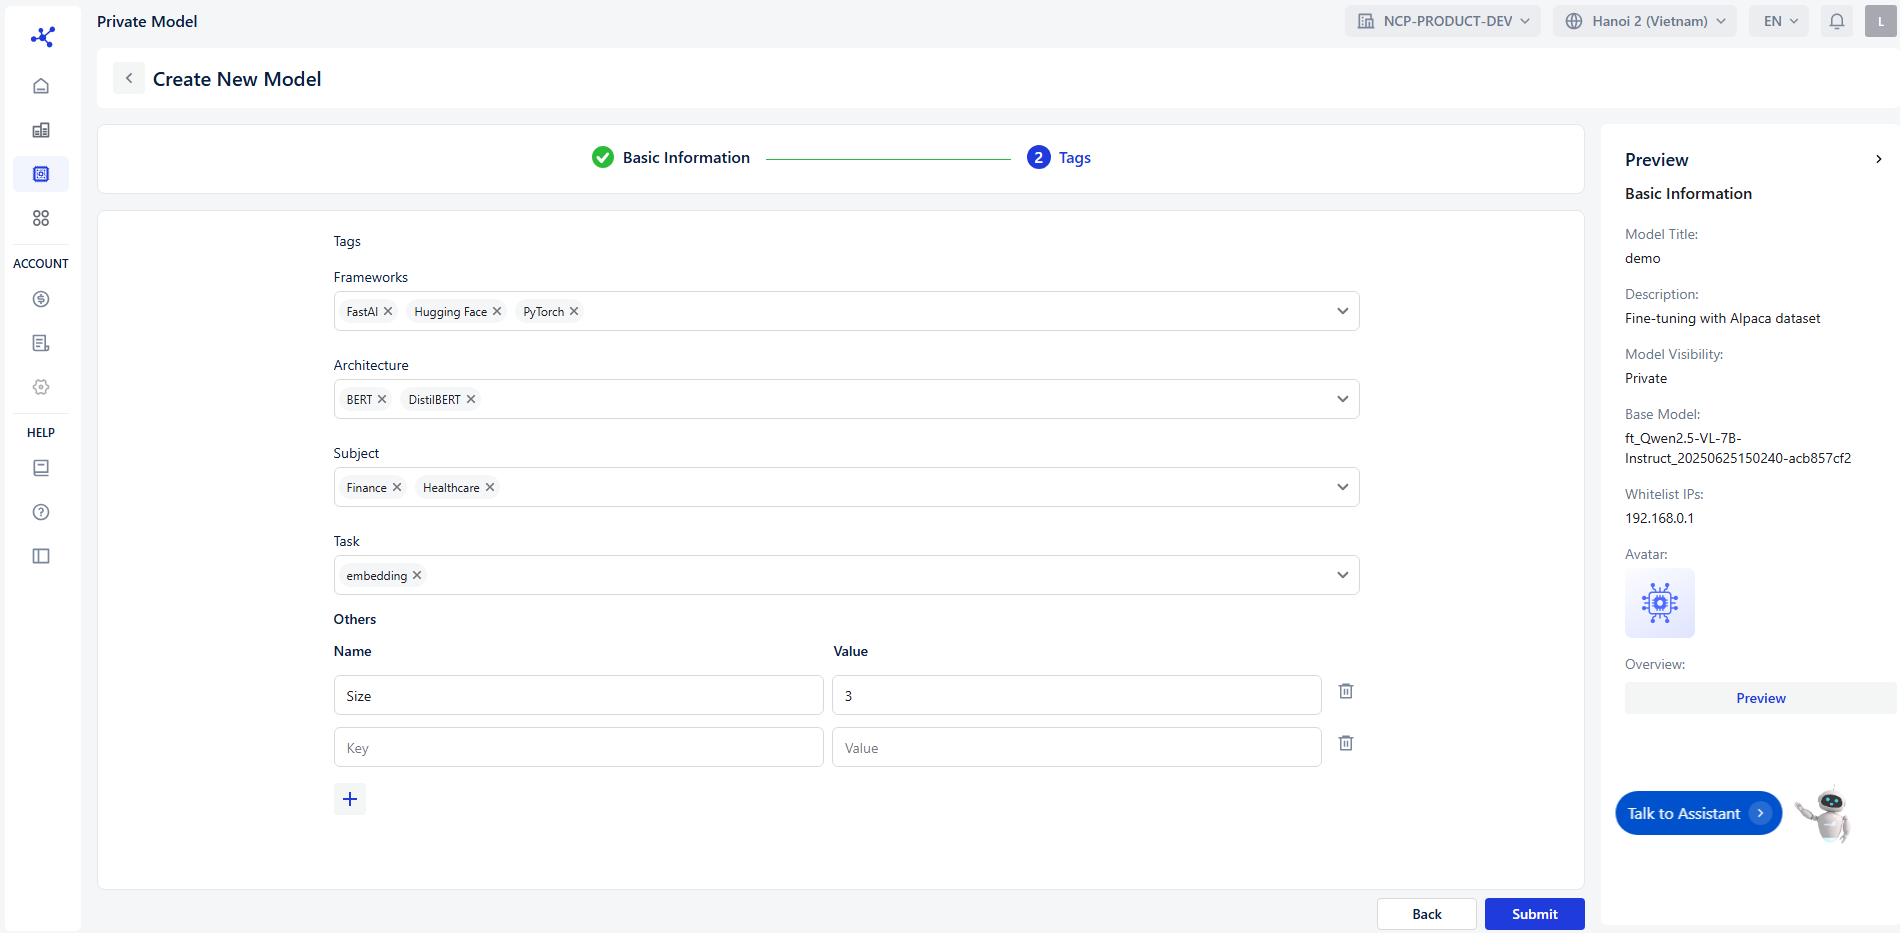 Use the Tags section to assign relevant keywords to your model for easier categorization and searchability.
Tag Categories
You can assign tags under the following predefined categories:
Use the Tags section to assign relevant keywords to your model for easier categorization and searchability.
Tag Categories
You can assign tags under the following predefined categories:
- Frameworks : Specify the development framework used (e.g., PyTorch, TensorFlow).
- Architecture : Define the model architecture (e.g., Bert, DistillBert, EfficientNet).
- Subject : Indicate the domain or field the model is related to (e.g., Healthcare, Finance, Education).
- Task : Describe the model’s primary function (e.g., Text Classification, Image Classification, Embedding).
- Others : Add any additional tags that don’t fit the above categories.
Step 3: Preview
The Preview panel on the right will display a live preview of your model based on the information you’ve entered.
Step 4: Navigation
- Click Cancel to discard changes and exit.
- Click Submit to finalize and create the model.