Manage Access List
Access Lists provide Whitelist/Blacklist functionality for specific workstation IP addresses along with HTTP Basic Authentication for Proxy Hosts.
Administrators can configure multiple rules, assign user/password for an access list, and then apply it to Proxy Hosts. This is useful for forwarded web services without built-in authentication mechanisms or when administrators want to protect against access from unidentified workstations.
To configure/add a new Access List, follow these steps:
Step 1: Select Accest List in the menu to open the Access List management screen.
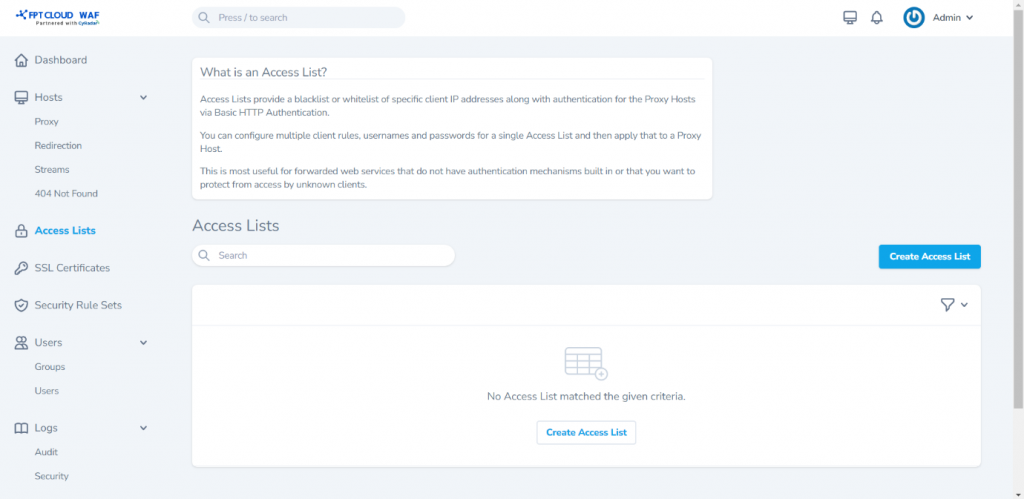 Step 2: Choose Create Access List to open the screen for adding a new Access List and enter the information as follows:
- Name:
- Satisfy Any
- Pass Auth to Host
Step 3: ClickCreate Access List to add the newly entered list and open the detailed view screen.
Advanced Configuration for Access List:
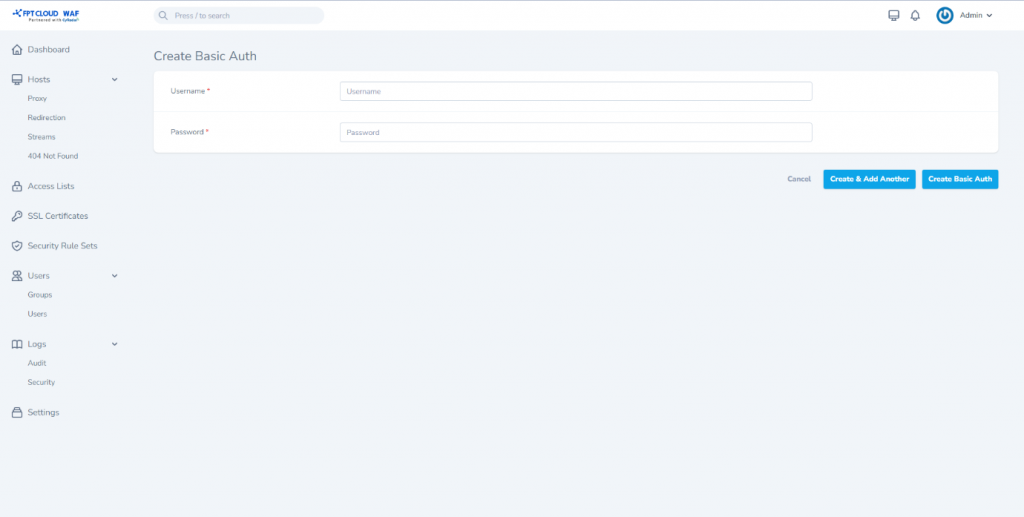
Step 1 : Click Create Basic Auth to configure new HTTP Nginx basic authentication.
Username : Enter the authentication username. Password : Enter the authentication password. Choose Create Basic Auth or Create & Add Another to add another authentication if needed.
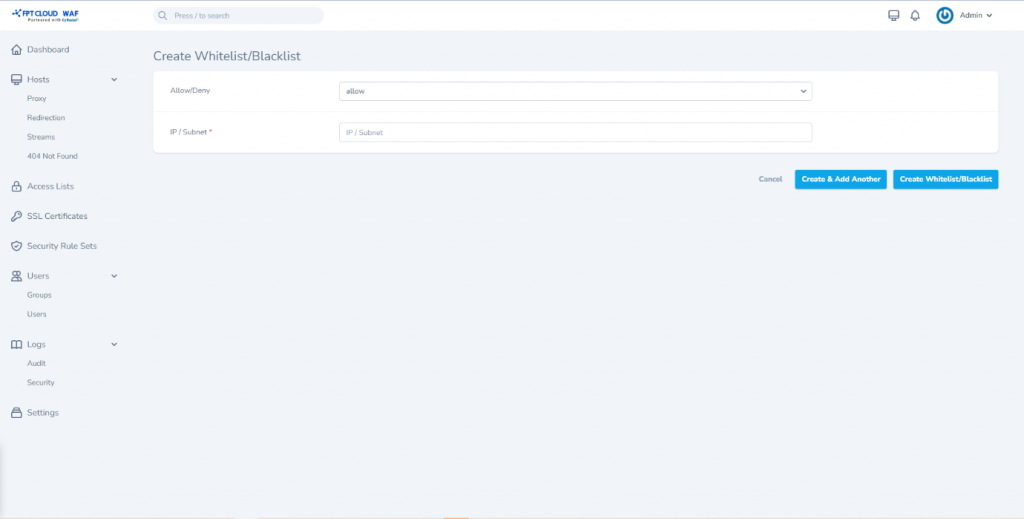
 Step 2. Choose Create Whitelist/Blacklist to add new IP addresses or subnets to allow/deny access.
- Check the box to allow or deny for the corresponding IP or subnet.
- Allow: Allows access for the specified IP or subnet.
- Deny: Denies access for the specified IP or subnet.
- IP / Subnet: Enter the IP address or subnet.
Click Create Whitelist/Blacklist to add the configured IP addresses for allow/deny.
Note: Allow/deny configurations will be applied in the order they are defined.
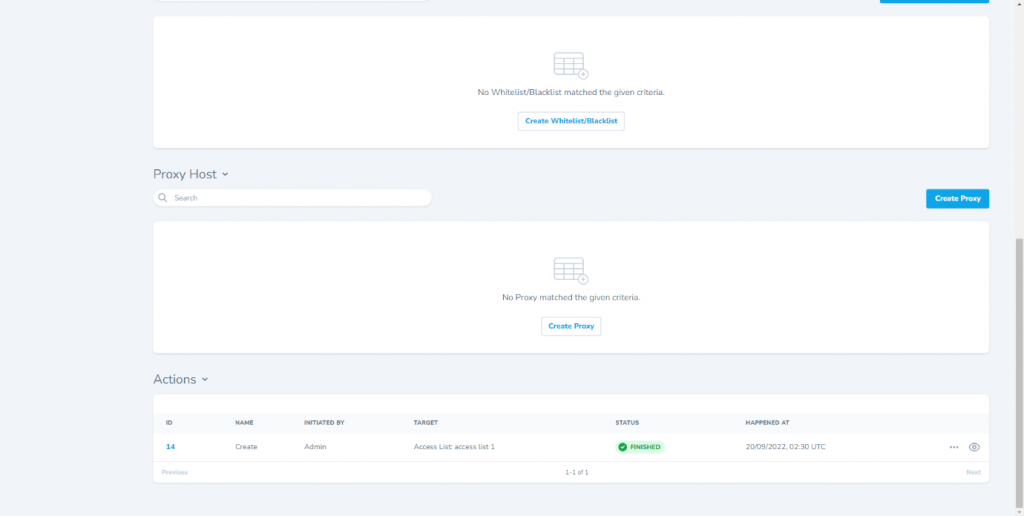
 Step 3. Click Create Proxy to add a new proxy host applied to the Access List just created. Refer to the method of adding a new Proxy Host on the Proxy Host Management page.
 Other functions:
Edit: Edit Access List information.
View: View detailed information about the Access List.
Delete: Remove the Access List.
Other functions:
Edit: Edit Access List information.
View: View detailed information about the Access List.
Delete: Remove the Access List.